How to clean tarnished headlights from the inside without taking them apart
With time, the various parts and systems of a car are subject to wear and tear, and will eventually become outdated or break down. While some parts will require replacement, there are others that can be updated or maintained with relative ease. For instance, a car’s headlights can become foggy or dim over time. Here, we reveal a helpful tip on how to clean the tarnished insides of headlights without having to disassemble them.
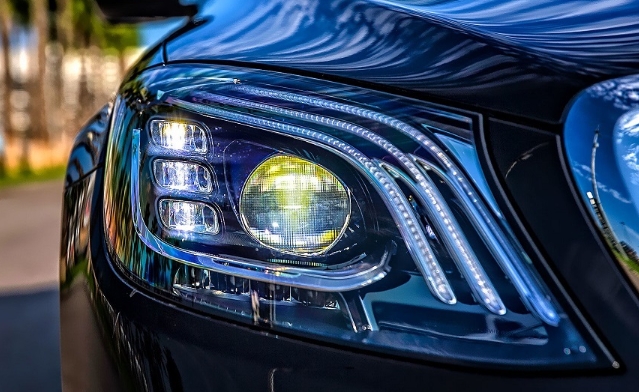
The dimming of headlights is an inevitable process, despite the optics being tightly sealed with valves for air circulation. The passing years, damage, and other negative factors cause seals to dry out and allow dust and dirt to enter, settling on reflectors, lamps, and protective glass. This not only affects the effectiveness of the lighting but also poses safety risks for drivers and passengers, especially at night when visibility is crucial. It’s crucial to address lighting problems promptly to avoid other issues that may arise.
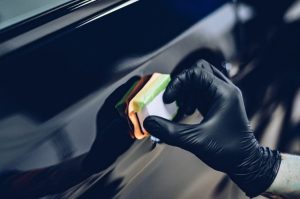
Restoring headlights can be a time-consuming and expensive process that requires a significant amount of resources, materials, and specialized equipment. In many cases, it even requires disassembling the headlights. However, there is a simpler way to restore headlights from the inside without having to take apart the entire lighting device.
If the exterior of the headlight is in good shape, but the light is still dim, the reflector is probably covered with dirt accumulated over the years. Cleaning it is not possible without disassembling the headlight unit, and doing it through small holes for the bulbs is also impossible while the headlight is installed. So, what can be done in this situation?
- Experienced drivers suggest removing the headlight and preparing warm water, a soft microfiber, and detergent. Next, pour the soapy water with a small amount of dishwashing detergent through the holes for the bulbs and insert the microfiber into the same holes. With the headlight housing in hand, shake it until the desired effect is achieved. The soapy water dissolves the dirt, while the microfiber helps wipe off the mirror finish. The reflector will gradually regain its new appearance.
- Once you are content with the outcome, the next step is to secure it. Firstly, drain the soapy water and extract the microfiber cloth from the headlight. Then, fill the headlight with distilled water to remove any remaining dirt and foam. This is essential as distilled water does not leave any marks after drying.
- Once the headlight has been rinsed clean, it is important to properly dry it. This can be achieved either by allowing it to air dry naturally, or by using a hair dryer or heat gun set to a low temperature. It is important to place the headlight with the reflector facing down and not to move it during the drying process.
Cleaning the headlights in such a simple way can help you save a significant amount of money. However, before proceeding with the restoration process, it’s important to carefully inspect the headlights to determine the cause of the reduced brightness. There could be several reasons for this, each requiring a different solution. For instance, the plastic of the headlights is often exposed to the harsh external impact of dust, stones, and debris flying off the wheels of other cars. As a result, the protective glass becomes covered in small scratches, tarnishes, and its transparency is significantly reduced. In this case, polishing is necessary.